- Professional Scanning Service
- Dedicated Slide Scanners
- Scanning Slides on Flatbed Scanner
- Taking Photo With DLRS Camera
- Taking Photo With a Smartphone
- Slide Projector
- Post-Scanning Tips
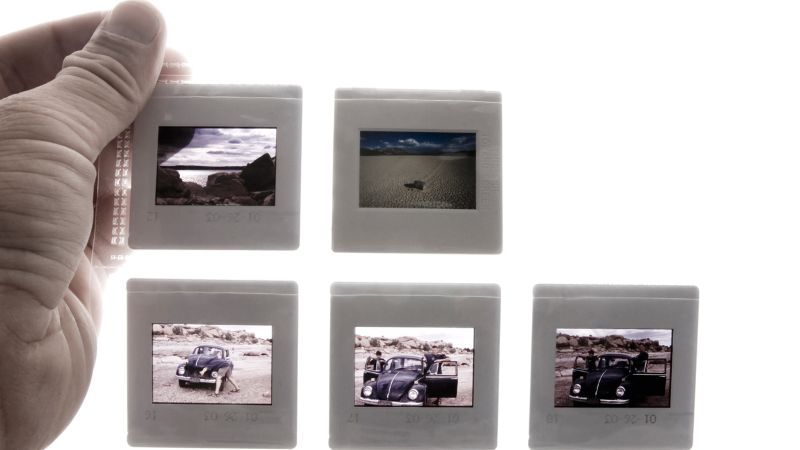
PhotoThe 35mm slide, a once-dominant consumer film format that reigned supreme from the 1960s to the mid-1990s, holds a treasure trove of cherished memories. These photographic relics are time capsules of our past, but their fading colors and deteriorating condition threaten to erase those invaluable moments from history. It's essential to take action to preserve these memories for the benefit of future generations.
Over time, all slides and photos are susceptible to the relentless march of deterioration. There's no escaping the inevitable fading and wear and tear, especially if you neglect them. Even projecting these slides can hasten their demise, thanks to the harmful effects of light, heat, dust, and mechanical wear.
But fear not, for you've arrived at the right destination. We've compiled a comprehensive guide that caters to both experienced DIYers and those new to the world of digitization of old media. Our goal is to present you with various options, each tailored to your specific needs, so you can embark on a journey to safeguard your precious memories. In the following sections, we'll unravel the possibilities and help you choose the best path forward.
Easiest and Safest Way: Professional Scanning or Digitizing Service
Service | Editors Choice iMemories  | ScanMyPhotos  | Legacybox  | Southtree  | Costco Digitizing  | DigMyPics MemoryBox  |
Website Link | ||||||
Shipping kit (box) | Yes | Yes | Yes | Yes | No | Yes |
Free repairs (splicing) | Yes | No | Yes | Yes | Yes | Yes |
Average turnaround time | 2-4 weeks | 4-8 weeks | 10-12 weeks | 10-12 weeks | 3-4 weeks | 2-4 weeks |
Expedited turnaround time | Available | 2-4 weeks | 3-4 weeks | n/a | n/a | n/a |
ONLINE REVIEWS | ||||||
4.5 | n/a | 4.0 | n/a | n/a | n/a | |
4.7 | 2.3 | 3.5 | 3.6 | n/a | 5.0 | |
4.0 | 3.5 | n/a | 2.6 | 2.0 | n/a | |
4.4 | n/a | n/a | n/a | n/a | 4.1 | |
WHAT FORMATS THEY CONVERT | ||||||
Photos | Photos up to 12x16 Negatives (any size), Slides (any size) | Photos, slides, negatives | Prints, 35mm Negatives, 35mm/126 slides | Prints, Slides, Negatives | Prints from 2" x 2" to 8" x 12" | Prints, negatives, slides |
Video tapes | VHS-C, VHS, Betamax, 8mm, Hi8, Digital 8, MiniDV, MicroMini, DVDs, MiniDVDs | VHS, mini VHS, VHS-C, Hi8 NTSC format tapes | VHS, VHS-C, Mini-DV, Hi8, Digital 8, MicroMV, Betamax, 8mm Video Cassette | VHS, VHS-C, MiniDV, Hi8, Digital 8, MicroMV, Beta, PAL to NTSC | VHS, S-VHS, Betamax, VHS-C, S-VHS-C, Video8, Hi8, Digital 8, DV, DVCAM, MiniDV, DVC | VHS, VHS-C, Hi8, Video 8, Digital 8, MiniDV, Betamax |
Film | 8mm, 16mm, Super 8 | 8mm, 16mm, Super8 | 16mm, 8mm, Super 8, Regular 8 | 16mm, 8mm, Super 8 | 8mm, Super 8mm, 16mm | 8mm, Super 8, 16mm |
Audio | N/A | N/A | Reel to Reel, Audio Cassette, Micro-Cassette | Cassette, Reel to Reel | N/A | Cassette tape, reel to reel tape |
PRICING | ||||||
Photo Conversion Price | $0.49 per photo | Starting at 13¢ per scan ($25 minimum) | $59.99 for 2 sets of 25 pictures $279.99 for 10 sets of 25 pictures $559.99 for 20 sets of 25 pictures $1099.99 for 40 sets of 25 pictures | $0.25 per photo | Starting at $19.99 | $65 - $600 (depends on the package size) |
Video Conversion Price | $14.99 per tape | $19.95 per tape | $59.99 for 2 tapes $279.99 for 10 tapes $559.99 for 20 tapes $1099.99 for 40 tapes | $15 per tape | Starting at $19.99 | $65 - $600 (depends on the package size) |
Film Conversion Price | $14.99 per 50ft. | Starting at 19¢ per foot for 8mm, and 25¢ for 16mm | $59.99 for 2 films $279.99 for 10 films $559.99 for 20 films $1099.99 for 40 films | $25 per film | Starting at $19.99 | $65 - $600 (depends on the package size) |
Audio Conversion Price | N/A | N/A | $59.99 for 2 audio items $279.99 for 10 audio items $559.99 for 20 audio items $1099.99 for 40 audio items | $15 per audio | N/A | $65 - $600 (depends on the package size) |
The most straightforward and secure way to preserve your cherished 35mm slides is through professional scanning or digitizing services. You may have already encountered these services, which have gained popularity due to their ease, safety, and ability to deliver top-notch results. Here's how it typically works:
Ordering Process
You begin by placing an order through the service's online platform. In most cases, the service will dispatch a shipping box kit to your doorstep, equipped with protective packaging designed specifically for your slides. Some services may allow you to use your own shipping box if they haven't developed their own kits yet. These shipping boxes are engineered to withstand pressure and provide exceptional protection during transit.

Shipping Your Slides
If you opt for the service's shipping box kit, follow the user guide included in the package. Load the box with your 35mm slides and affix the provided prepaid shipping label. Your final task is to drop off the box at the nearest designated postal location.
Tracking and Updates
Most services offer robust tracking throughout the shipping and scanning process, ensuring your precious memories remain safe and accounted for. You can expect updates via their website, emails, or both, keeping you informed at every step of the journey.
Scanning and Enhancements
The scanning process can vary from one service to another. Some services may opt to clean and scan the slides as they are, without any enhancements, while others might go the extra mile to improve the image quality. Enhancements, if offered, can be included in the base price or may incur an additional charge. Be mindful of this when selecting your scanning service, as the outcome for enhanced and non-enhanced slides will differ.
Digital Storage Options
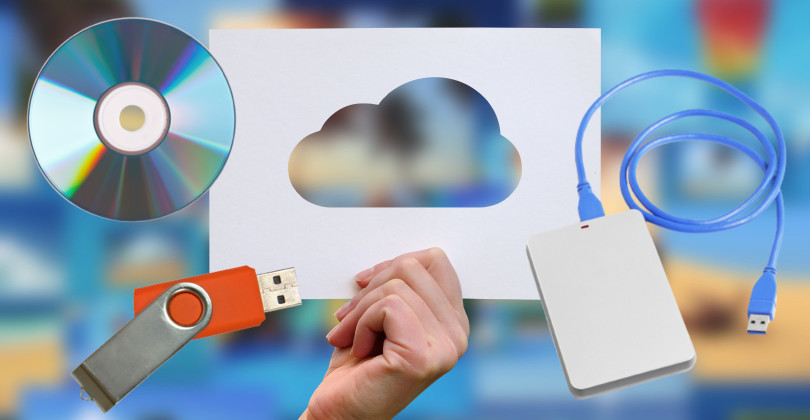
Once your 35mm slides are scanned and transformed into digital format, you'll need to choose a method for digital storage. Popular options include cloud storage, downloading digital files (either free or for a fee), USB drives, and DVDs. The choice may vary depending on the service you select.
Turnaround Time
Pay close attention to the turnaround time offered by the service. This period can range from 2-4 weeks to as long as 10-12 weeks. If you have specific deadlines to meet, the turnaround time could be a deciding factor. Fortunately, many services offer expedited processing for an additional fee.
Pricing
Slide scanning service costs can range from $0.48 to $1 per slide, depending on the package and included features. Some services may offer discounts for bulk orders.
In summary, entrusting your slide scanning needs to a professional service is a hassle-free process that yields high-quality results. It ensures the safe preservation of your cherished memories, providing you with digital copies that can be easily shared and enjoyed for years to come.
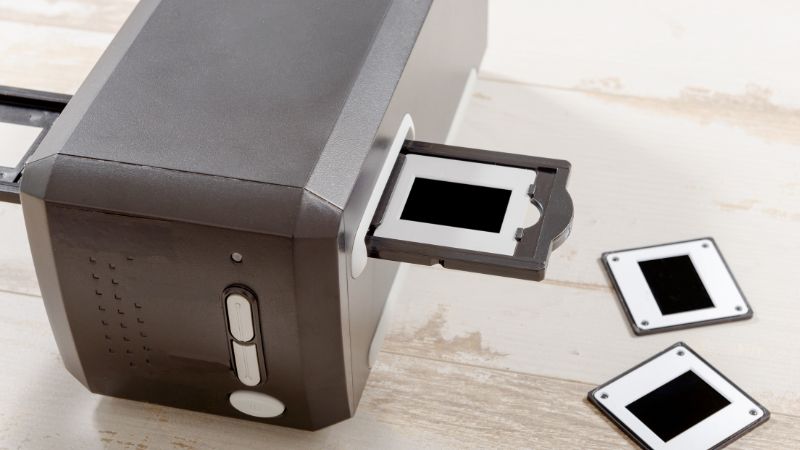
Dedicated Slide Scanner
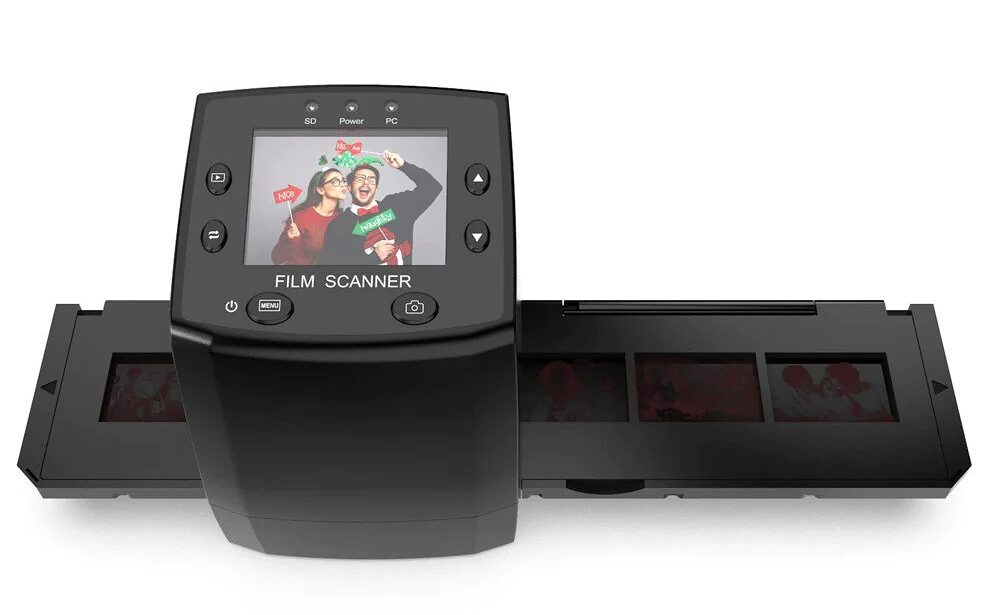
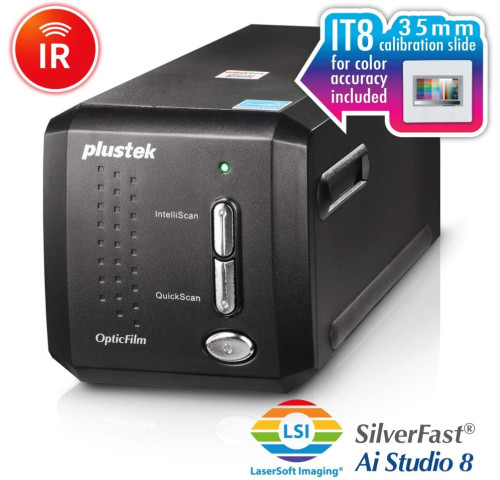
Now, let's dive into the DIY solution for digitizing your 35mm slides: dedicated slide scanners. These scanners provide a convenient and straightforward way to convert your slides into digital format, putting you in control of the process. However, keep in mind that while it offers the DIY approach, it does come with an upfront cost—the purchase of the scanner itself. Below, we've compiled a table with some options for your consideration.
Kodak Slide N Scan | Kodak Mini | Wolverine | DigitNow | MagnaSonic | Pulstek 8200i Ai | |
 |  |  |  |  |  | |
Website Link | ||||||
Supported Types | 50 mm Slides (135, 110, 126) Color Negative Film (135, 110, & 126) Black & White Negative Film (135, 110, & 126) | Black & White, Negatives
| 35mm, 127 (1.5x1.5"), 126KPK, 110, APS Slides & Negatives | 35mm and 135mm Negative/Slide and Scans | 35mm film (36x24 mm), 135 slide (2x2”), 110 film (13x17 mm), 110 slide (2x2” and 1x1”), 126 film (28x28 mm), Super 8 film (8x4 mm) | 35mm Film & Slides |
Image Sensor | 14MP/22MP 1/2.33′′ CMOS sensor | 14MP ½.33” CMOS sensor | 20MP | 16MP | 14MP/22MP | Output 68.9MP |
Resolution | 4320x3252 | 4416x3312 | 5472x3648 | N/A | 3200x3200 and 4000x4000 | 7200x7200 |
Display | 5" | 2.4” LCD | 4.3" | 2.4" LCD | 2.4" TFT LCD | No |
Memory | SD card up to 32GB | SD card up to 32GB | Holds max. 40 images or optional SD/SDHC | 128MB built-in memory or SD card | 128MB built-in memory or SD card up to 32GB | N/A |
File Format | JPG | JPG | JPG | JPG | JPG | JPG |
TV Out | HDMI | NTSC/PAL | HDMI | Yes | N/A | N/A |
These dedicated slide scanners excel at producing high-quality digital images of each slide, saving them as easily viewable and shareable JPEG photos compatible with modern devices and online platforms. They typically come with a specialized holder for feeding the slides.
One notable feature of these scanners is the inclusion of a user-friendly screen that allows you to view and preview your slides before digitization. This ensures that you can review and select the images you wish to convert. Once the capture process is complete, the images are swiftly transformed into digital format and stored either in the scanner's internal memory or on an external SD card.
While basic models offer impressive performance, premium options are available at a higher price point. These advanced scanners can capture high-resolution digital photos and boast additional features such as dust and scratch removal, auto-adapted contrast adjustments, and an expanded dynamic range. These enhancements result in even more detailed and pristine images. Furthermore, premium models can accommodate various slide types and negative films, making them the ideal choice for individuals with a diverse range of media to digitize.

Scanning Slides on Flatbed Scanner
Flatbed scanners are renowned for their ability to produce high-quality scans, particularly when it comes to photos. If you don't already own one and are considering purchasing, it's important to note that they tend to be priced higher than printer-scanner combos. Alternatively, you can explore the option of acquiring a used flatbed scanner, which can be a more budget-friendly choice.
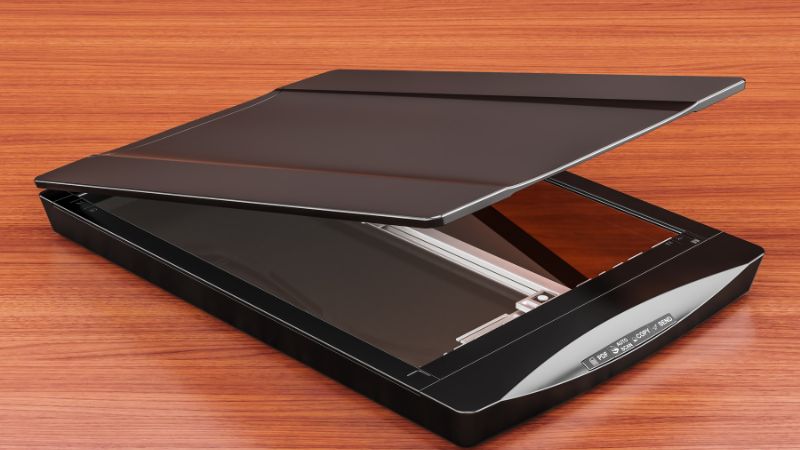
To embark on the journey of scanning your 35mm slides with a flatbed scanner, the first step is to ensure that the scanner glass is clean. To achieve this, utilize a lint-free cloth in conjunction with a glass cleaner spray to eliminate any traces of dust, smudges, or fingerprints.
However, the cleaning process doesn't stop at the scanner glass; your 35mm slides also require attention. To cleanse them effectively, procure a film-cleaning solution, apply it to a cotton pad, and gently wipe the slides clean.
With your slides now pristine, position them into the dedicated holder designed for this purpose and place the holder onto the scanner bed. Launch the scanner software on your computer and opt for the slide scanning function. Adjust the settings for resolution, color mode, and contrast based on the specific characteristics of your slides. Opt for a higher resolution setting if you intend to enlarge the images significantly.
Once you've configured the scanner to your preferences, carefully position the slides in the transparency adapter and lower the scanner lid. Then, initiate the scanning process by clicking the "scan" button on your computer. Maintain vigilance throughout the scanning procedure and make any necessary adjustments to the settings as required.
Upon the completion of the scanning operation, save the resulting images in a format that aligns with your intended use, such as JPEG or TIFF. Additionally, consider editing the images to enhance their quality, rectify any orientation issues, or eliminate imperfections.
As a final step, safeguard your slides by storing them in a secure box or a specialized slide storage system. Be sure to label them appropriately for easy retrieval when the need arises.
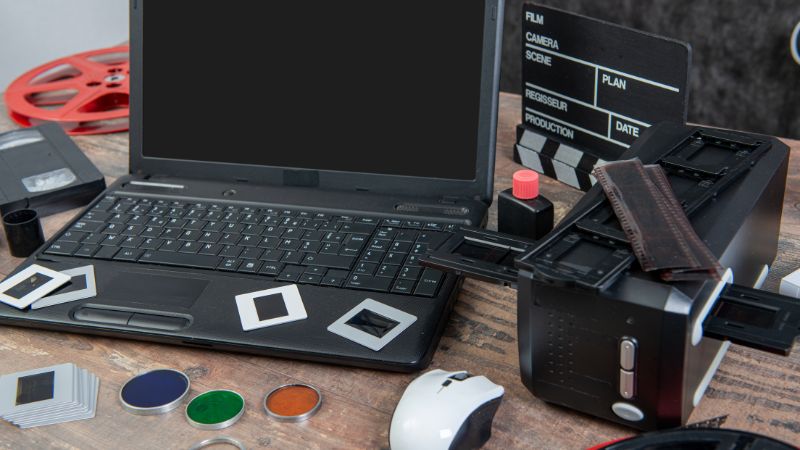
Taking Photo of 35mm Slide With DLRS Camera
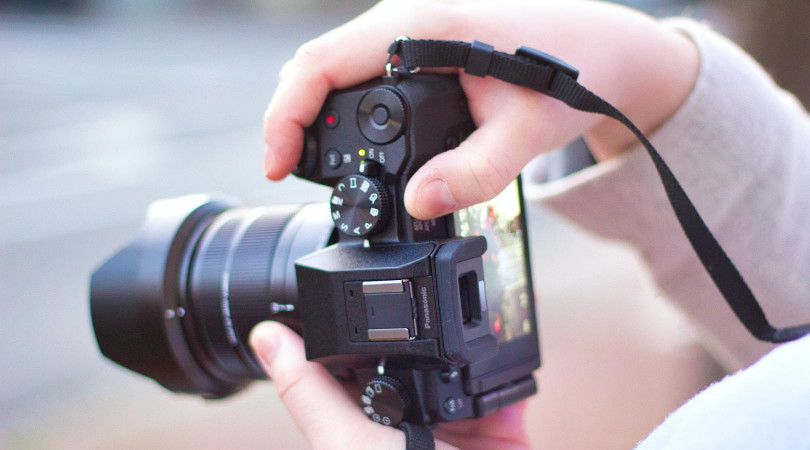
If you lack a flatbed scanner, an alternative method for digitizing your 35mm slides involves using a DSLR camera. To achieve optimal results, sufficient lighting is essential. You can achieve this by employing an illuminating surface where the slides are placed for photography. We recommend mounting your DSLR camera on a tripod for stability. Kodak offers a purpose-built solution in the form of the Kodak LED Light Box, designed for viewing old films and slides, priced at $39.99.
Interestingly, you need not capture individual photos with your DSLR camera. If your DSLR has a video output feed, it can double as a slide viewer through your computer. This allows for direct capture of the slides into software or the option to record them as a video, providing flexibility in your digitization process.
Taking Photos of Slide With a Smartphone
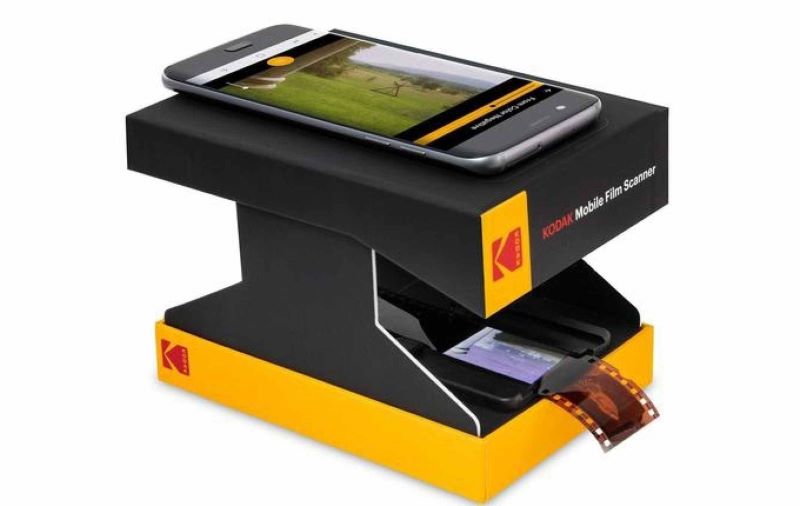
Digitizing your slides with a smartphone is another viable option. Much like the previous solution involving a DSLR camera and an illuminating surface, this method is accessible to smartphone users. However, for improved results and convenience, consider investing in the Kodak Mobile Film Scanner, available at a price of $39.99. This device acts as a smartphone holder equipped with a dedicated lighting surface designed for slides and film. Paired with the Kodak smartphone app, it offers built-in editing features, allowing you to enhance and edit your slide photos effortlessly.
Should you prefer not to invest in a dedicated smartphone holder, it is still possible to digitize your slides without one. In this case, ensure you have access to some form of lighting surface to facilitate slide viewing. This approach provides flexibility for those who may not require additional hardware for their digitization process.
Slide Projector and Camera
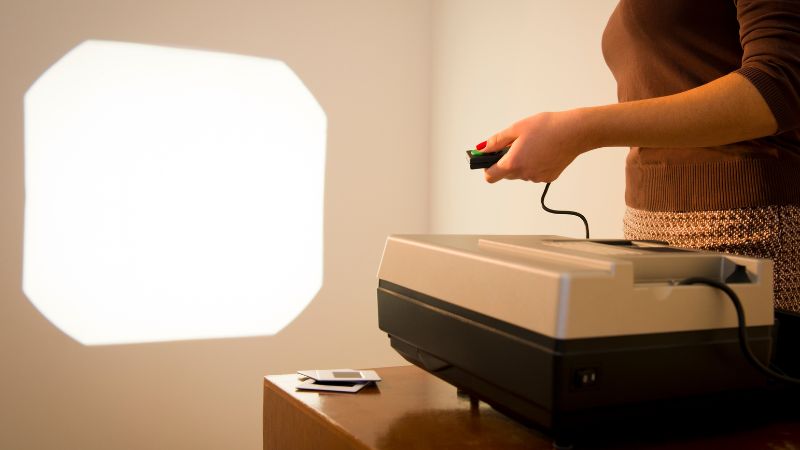
If you're fortunate enough to have a slide projector in your possession, there's an additional method for digitizing your 35mm slides. You can project the slides onto a projector screen and then capture them using a DSLR camera or your smartphone. To achieve the best possible results, it's crucial to ensure proper alignment.
First, make certain that the projector and projector screen are correctly positioned both horizontally and vertically to prevent image distortion. Next, mount your DSLR camera or smartphone on a tripod for stability and consistency. Pay close attention to the angles, height, and the space between the projector screen and your camera to ensure optimal image capture. This approach can provide a convenient and effective way to digitize your slides while maintaining image quality.
Post-Scanning Tips
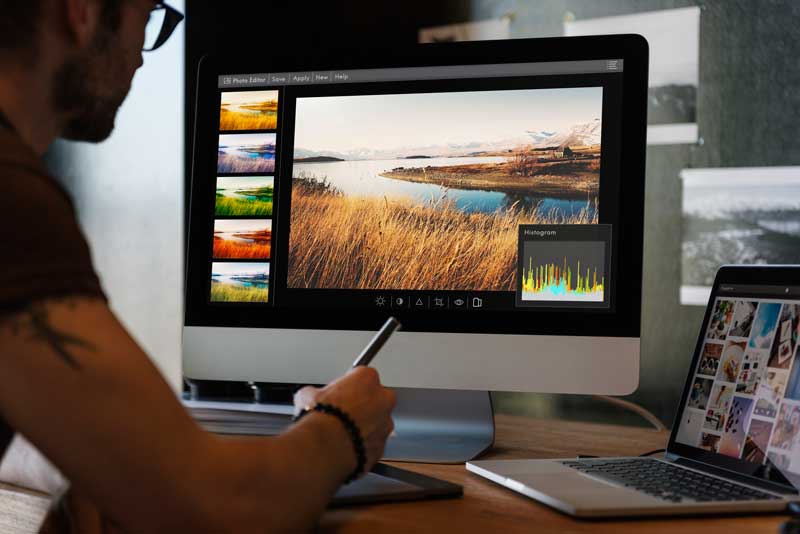
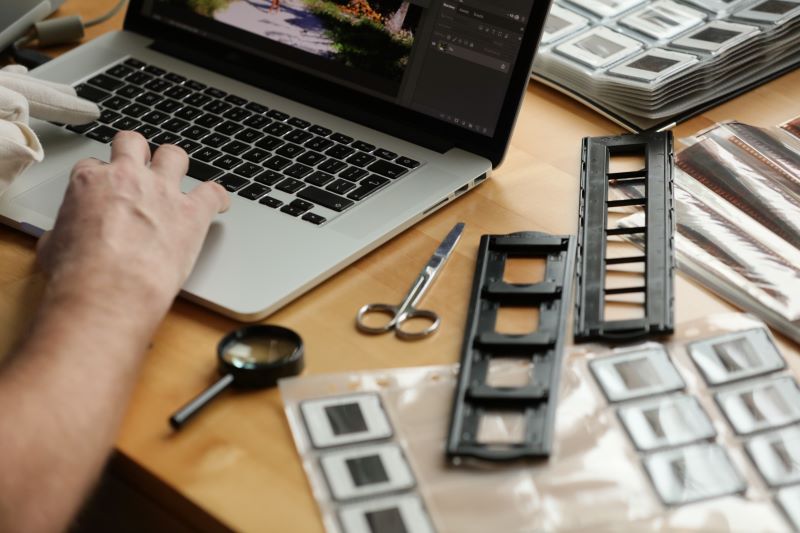
After scanning or converting your 35mm slides to digital format using a professional service, the process is typically complete, as they are experts in delivering the best possible scans and may perform necessary editing. However, if you opt for a DIY approach, it is advisable to enhance and repair your scanned images using photo editing software like Adobe Photoshop, Lightroom, or GIMP. With these tools, you can address issues such as scratches, dust, and color adjustments, ensuring your digitized slides are in pristine condition.
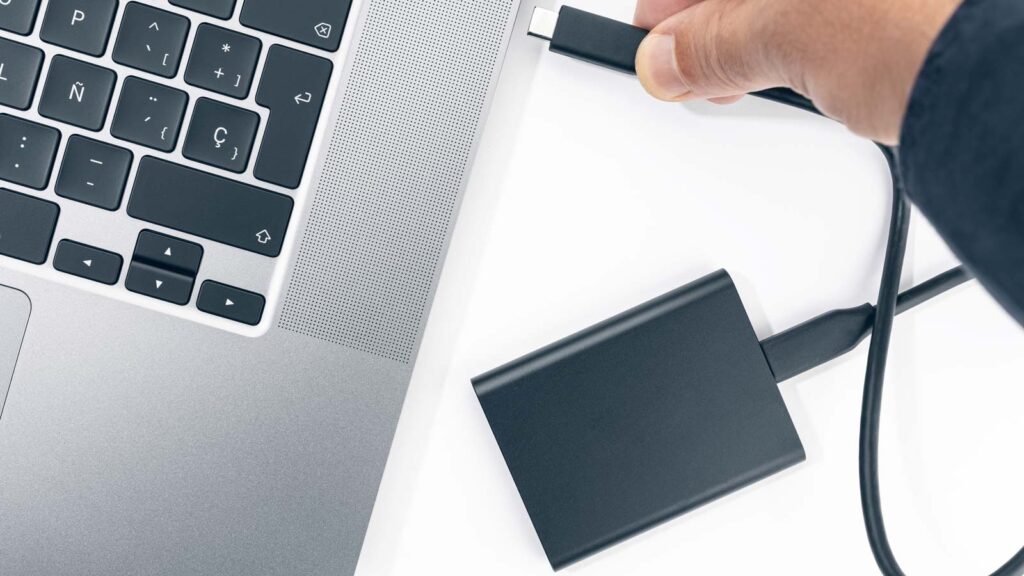
Following the completion of the scanning process for your 35mm slides, the next crucial step is proper storage. It is recommended to store your digital copies in more than one location for added security. For local digital storage solutions, investing in a high-quality external hard drive or SSD is advisable. These devices provide reliable, on-hand access to your digitized slides.
Additionally, consider utilizing cloud storage options to create an extra layer of backup. Many cloud providers offer free storage space when you register an account. Prominent options include Google Drive, Microsoft OneDrive, Dropbox, and others. By leveraging cloud storage, you ensure your precious digitized memories remain protected and easily accessible from multiple locations.
In conclusion, the process of converting or scanning 35mm slides to digital is paramount for preserving the invaluable memories they hold. We've explored various options for this transformation, and regardless of your choice, the key is to take action promptly. However, if you lack technical expertise or experience, opting for a professional scanning service is undoubtedly the wisest decision. Errors can occur easily, and once a slide is damaged or destroyed, there's no reversing the process. If you prioritize a hassle-free conversion with high-quality results, the professional scanning service is the ideal path to take. It ensures that your cherished memories are safeguarded and brought into the digital era with care and precision.

Abdo is a Zoopy writer who loves spending his free time outdoors, camping, and enjoying the peace that nature brings. He also enjoys fixing things - he's particularly good with electronics. His favorite movie is I Am Legend, and he's fascinated by survival gear and safety.