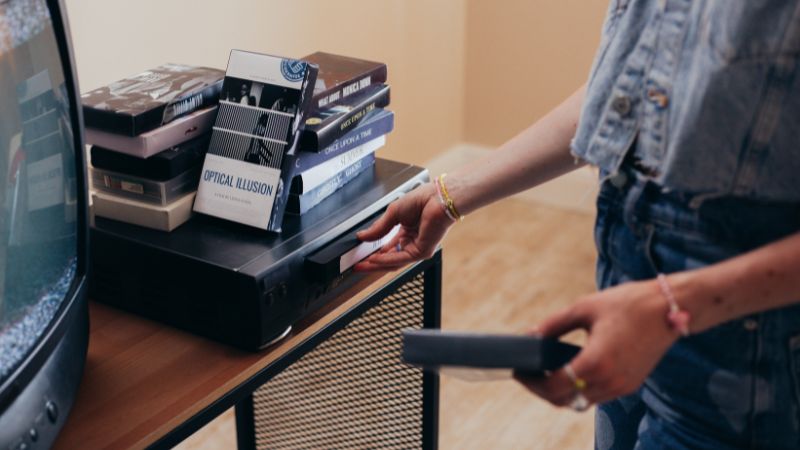
S-VHS, or Super VHS, represents an advancement in the world of VHS tapes, boasting enhanced image quality with sharper and more detailed pictures. Its appeal quickly spread, finding its place in recording personal and family events among other uses.
If you're holding onto Super VHS tapes (S-VHS) and seeking to bring them into the digital realm, you might find yourself at a loss. There's a scarcity of guides tailored to this specific need. That's precisely why we've crafted this guide—to provide a comprehensive overview of all available options. Regardless of your technical expertise or possession of equipment, our aim is to ensure you can successfully convert your Super VHS tapes to digital format. So, if you're keen on converting your Super VHS tapes, stick around till the end to learn how.
What Options You Have
Well, like with anything else, you can choose from choosing a professional approach, which in this case is Service, or going with the road of DIY, which is converting your S-VHS tapes by yourself with a few different methods such:
- Using a S-VHS camcorder
- Using an S-VHS Player and VHS converter
- Using S-VHS DVD combo player
Best Way to Go: Super VHS to Digital Service
When it comes to converting your cherished Super VHS memories into digital format, opting for a professional service is hands down the best route to take. Why? Well, for starters, you get top-notch quality, peace of mind regarding safety, swift turnaround times, and a plethora of digital storage options. In today's digital age, there's a service for just about everything, and thankfully, the demand has led to a variety of choices available at reasonable prices.
What's even more reassuring is that these services often boast years of experience under their belts, ensuring your precious memories are handled with the utmost care and expertise. One standout service that I've personally come to admire is iMemories. Curious to learn more? Dive into our in-depth review for all the details.
But wait, there's more! It's not just about converting your tapes into digital form; these services often go the extra mile by offering digital enhancements to spruce up your footage. Whether it's repairing damaged tape film or replacing worn-out housing, they've got you covered. So, if you're facing any issues with your tapes, entrusting them to a reliable service is a no-brainer.
Let's face it—when it comes to preserving cherished family memories, you wouldn't want to leave anything to chance. While DIY projects might sound tempting, they often lead to unforeseen mishaps. That's why placing your trust in a reputable service is the smartest move you can make.
If you're interested in converting your Super VHS (S-VHS) tapes with a service, then check out our guide for the best VHS-to-digital services.
How These Video Tape Conversion Services Work?
Navigating the world of video tape conversion services may seem daunting at first, but you shouldn't worry—here's a breakdown of how they typically operate.
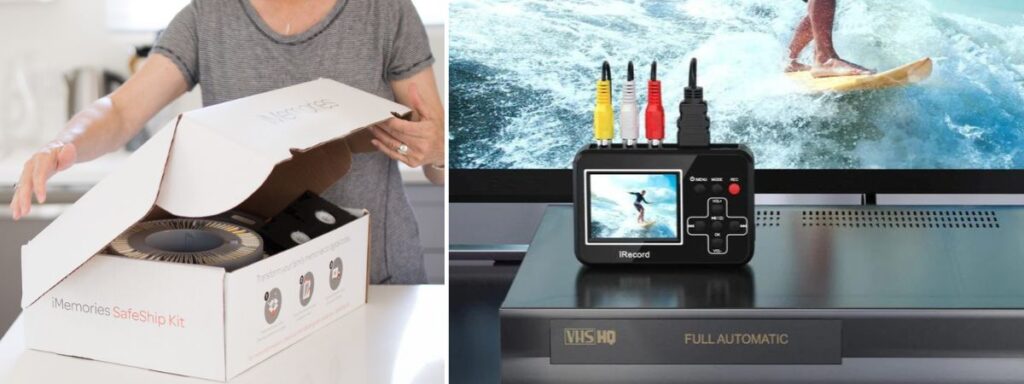
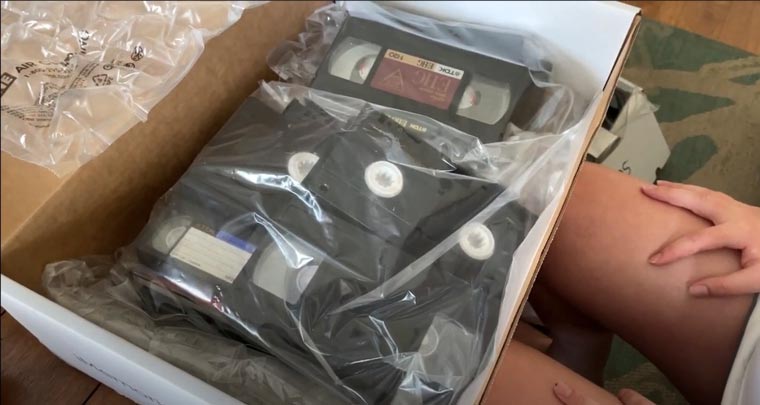
In this digital age, most services have migrated online, allowing you to place your order conveniently through their website. Once you've placed your order, it's simply a matter of packaging your tapes securely and shipping them off to the service headquarters. But here's the kicker—they've improved their service in terms of safety. Many now offer conversion box kits, complete with crushproof packaging, prepaid shipping labels, and tracking, ensuring your tapes reach their destination unscathed.
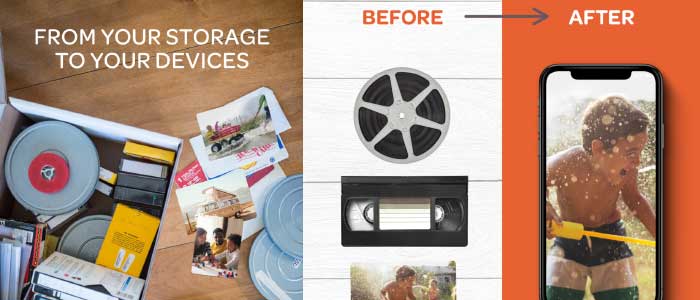
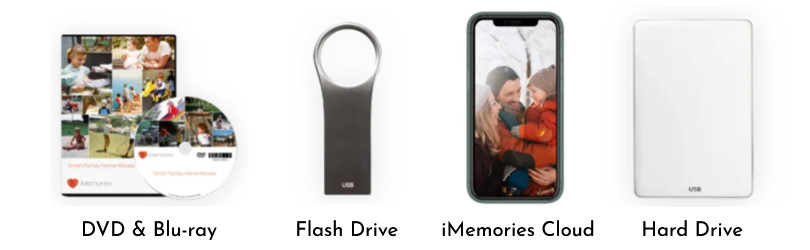
Upon arrival at the service facility, they'll notify you and meticulously inspect each tape by hand before diving into the conversion process. Once your tapes are ready, the magic happens—the conversion process begins. Your tapes are transformed into digital format, and if you opt for it, the footage may undergo digital enhancements to further enhance its quality. From there, you get to choose where you want your digital treasure stored. Gone are the days of being limited to just DVDs; now, you have the luxury of selecting from options like flash drives, cloud storage, digital downloads, or even an external hard drive.
But here's the cherry on top—most services offer real-time tracking throughout the entire conversion journey. Whether it's through order pages or email updates, you'll be kept in the loop every step of the way.
Now, let's talk turnaround time. Typically, you're looking at around 3 to 4 weeks, though it used to be even speedier before the shipping and delivery disruptions we've all become familiar with. Do keep in mind, though, that the processing time may vary depending on the quantity and type of media you're sending in.
Once your order is complete, the service will ship back your original tapes alongside the digital copy of your choosing, ensuring your memories are preserved for generations to come.
Overview of DIY Methods of Converting Super VHS to Digital
Now that we've explored some professional options for converting Super VHS to digital, let's delve into a few DIY methods that might suit your needs. While the professional services offer convenience and quality, taking matters into your own hands can be a rewarding endeavor, albeit with some considerations to keep in mind. Let's break down these DIY approaches one by one.
1. Converting S-VHS via Camcorder
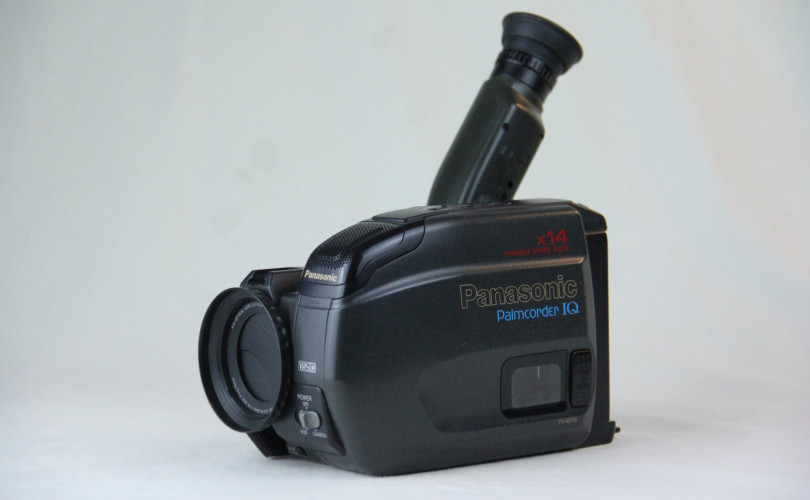
Converting S-VHS tapes to digital format via a camcorder can be a feasible DIY method if you have the right gear at your disposal. This approach involves using a camcorder as a middleman to capture the analog video signal from the S-VHS player and then transferring it to your computer for digital conversion. Here's a step-by-step guide to help you through the process:
Equipment Needed
- S-VHS player
- Digital camcorder with analog input (AV-in) feature
- AV cables (usually composite or S-Video and RCA audio cables)
- Computer
- Video capture software
Steps
Check Camcorder Compatibility: Ensure that your digital camcorder is equipped with an analog input (AV-in) feature, as not all camcorders have this functionality, which is essential for this method.
Connect S-VHS Player to Camcorder
Utilize AV cables to connect the output of the S-VHS player to the analog input of the camcorder. You may require an S-Video or composite video cable for the video signal and RCA cables for the audio signal.
Set Camcorder to Record
Prior to playing the S-VHS tape, set your camcorder to 'record' mode. Remember, this setup doesn't record onto a tape inside the camcorder; instead, it passes the incoming video signal through to its digital output.
Transfer Video to Computer
Connect your camcorder to your computer, using USB, FireWire (IEEE 1394), or HDMI, depending on the outputs supported by your camcorder and the inputs accepted by your computer.
Capture the Video
Once your camcorder is connected and recognized by your computer, launch your video capture software. Configure the software to identify the camcorder as the video source.
Play and Record
Begin playing the S-VHS tape in the player while simultaneously starting the recording process in your capture software on the computer. The software will capture the video in real-time as it plays.
Edit and Save Your Digital Video: After capturing the entire tape, utilize the software to trim any unwanted sections, adjust quality settings, and save the digital video in your preferred format, such as MP4 or AVI.
Tips
Test Your Setup: Conduct a brief test recording to ensure that all components are functioning correctly before embarking on lengthy conversions.
Monitor the Recording: Keep an eye out for any issues during the conversion process, such as tracking problems on the S-VHS tape or signal interruptions.
Backup Your Videos: Once the conversion is complete, make sure to back up your digital files in multiple locations, such as external hard drives or cloud storage, to safeguard your precious memories.
Using a camcorder with an analog input can offer a creative solution for converting S-VHS tapes to digital, especially if you already possess the necessary equipment. However, bear in mind that the quality of the resulting digital video may be influenced by the resolution and capabilities of the camcorder.
2. Converting S-VHS Player and VHS Converter
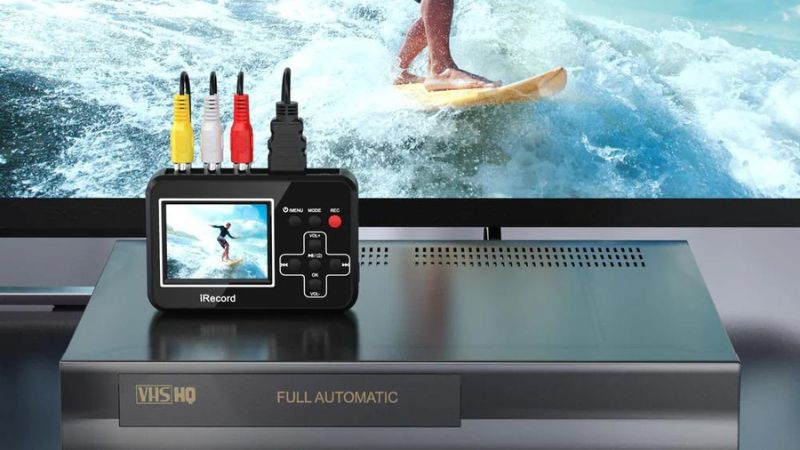
Converting S-VHS tapes to digital using an S-VHS player and a dedicated VHS-to-digital converter is a popular DIY method. This approach involves connecting your S-VHS player to a digital converter device, which then connects to your computer, or you can use the converter itself to capture an overview of footage. The converter digitizes the analog video signal, allowing you to capture and save it as a digital file. Here's how to do it, including details on the correct connectors and ports:
Equipment Needed
- S-VHS player
- VHS-to-digital converter
- Necessary cables depending on your S-VHS VCR (S-Video or Composite video cables and RCA audio cables)
DigitNow HD Video Capture Box | DigitNow VHS to Digital Converter | DigitNow VHS to Digital Converter Box | DigitNow USB 2.0 Video Capture | |
Editors Choice  | 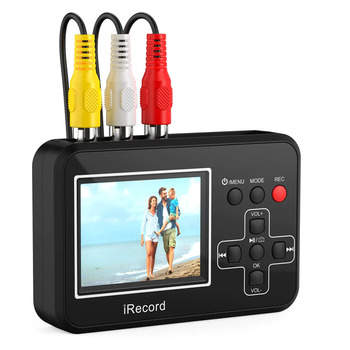 |  |  | |
Website Link | ||||
Price | $169.99 | $84.99 | $ 179.99 | $49.99 |
Description | The DigitNow HD Video Capture Box is a versatile converter that supports AV and HDMI HD 1080P video input and output. It features 3.5mm video input and output ports and comes with built-in speakers for audio and video preview. You can save your converted videos on a USB flash drive or SD card (up to 128GB) formatted as FAT32 or exFAT. This converter allows you to capture HD 1080P video from various sources, including VCRs, VHS tapes, Hi8, camcorders, DVDs, TV boxes etc. It also includes a convenient 5" OLED screen for easy video playback. | The DigitNow VHS to Digital Converter offers a user-friendly one-touch operation for converting your videos to digital files. With this converter, you can easily restore and share your family memories from the past. It allows you to share your digitized videos on your PC, smartphone, or TV. | The DigitNow VHS to Digital Converter provides HD 1080P video capture and recording from various sources, including VCRs. It features a 5" OLED screen for convenient video preview and playback. | The DigitNow USB 2.0 Video Capture is an all-in-one pro version designed for converting old VHS tapes into digital files. It supports video output formats such as MJPEG-19201080@30Hz and YUV422-720576@25Hz. The converter comes with powerful editing software for easy editing and burning of DVD formats. |
Steps of Conversion
Identify the Output Ports on Your S-VHS Player
- Search for the video output port. S-VHS players generally feature an S-Video port for enhanced quality, characterized by its round shape with several small pins inside. Additionally, there may be a composite video output, typically denoted by a yellow RCA connector.
- For audio, inspect for white and red RCA ports labeled as Audio Out (Left and Right).
Check the Input Ports on the VHS-to-Digital Converter
- Ensure that your converter boasts matching input ports for the cables originating from the S-VHS player. This includes an S-Video input for optimal quality, or a composite video input (yellow).
- It should also accommodate two RCA inputs (white and red) for stereo audio.
Connect the S-VHS Player to the Converter
- Utilize an S-Video cable to link the S-VHS player's S-Video Out to the converter's S-Video In for the best video quality. Alternatively, employ a composite video cable (yellow RCA) if S-Video is unavailable.
- Connect the audio cables from the player's Audio Out to the converter's Audio In, ensuring color matching (white to white for left audio channel, red to red for right audio channel).
Connect the Converter to Your Computer
- The VHS-to-digital converter should connect to your computer via USB. Simply plug the USB cable from the converter into an available USB port on your computer.
Install and Use Video Capture Software
- Install any necessary drivers or software provided with your converter. If no software is included, numerous free and paid video capture programs are available for download.
- Launch the video capture software and designate the VHS-to-digital converter as the video and audio source.
Capture the Video
- Play the S-VHS tape in the player and initiate recording using the capture software. The software will save the video in real-time as a digital file on your computer.
Edit and Save Your Video
- Following capture, utilize the software to trim, edit, and save the video in a digital format such as MP4, AVI, or MOV.
3. Using S-VHS DVD Combo Player
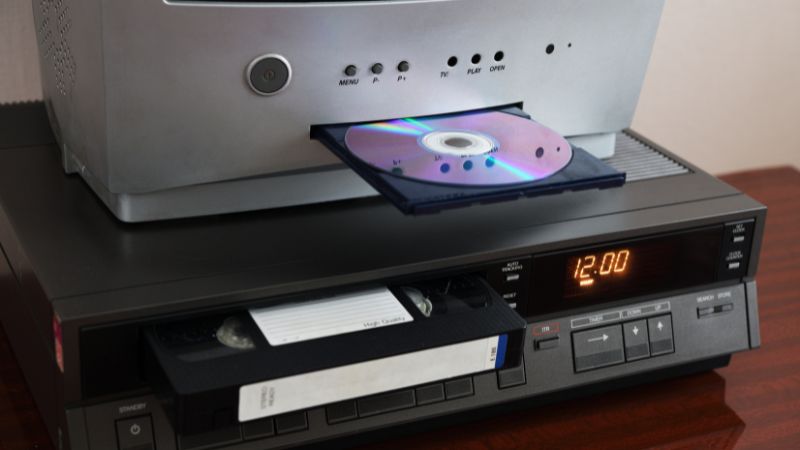
This method is my favorite and might be the safest and easiest if you have the right and functional equipment. You can make the whole conversion in one place. Also, this process does not require cable connections, which is one less possibility that you will do something wrong.
These devices are designed to handle the analog-to-digital conversion internally, offering a streamlined workflow for users. When selecting a combo player, ensure it supports S-VHS tapes explicitly so you don't get standard VHS, as not all models are equipped to handle this higher-quality VHS format.
Preparation
Before diving into the conversion process, ensuring that all your equipment is in good working condition is essential. To do this, consider using an old tape for testing purposes. This precautionary step can help safeguard the tapes you intend to convert in case any issues arise with the VCR.
Here's what you should check:
- VCR Functionality: Verify whether the VCR plays the tape smoothly and rewinds, ejects, and inserts without any glitches or malfunctions.
- Video and Audio Quality: Pay close attention to the playback quality. Ensure that both the video and audio are clear, without any distortions or speed irregularities. This ensures that the footage is viewed at the correct speed, with accurate sound and image synchronization.
Conducting these checks beforehand can mitigate the risk of encountering problems during the conversion process, safeguarding your tapes from potential damage.
Conversion Process
The conversion process is easier because there is less equipment and more cables. First, insert a blank DVD in its reader and then insert your S-VHS tape.
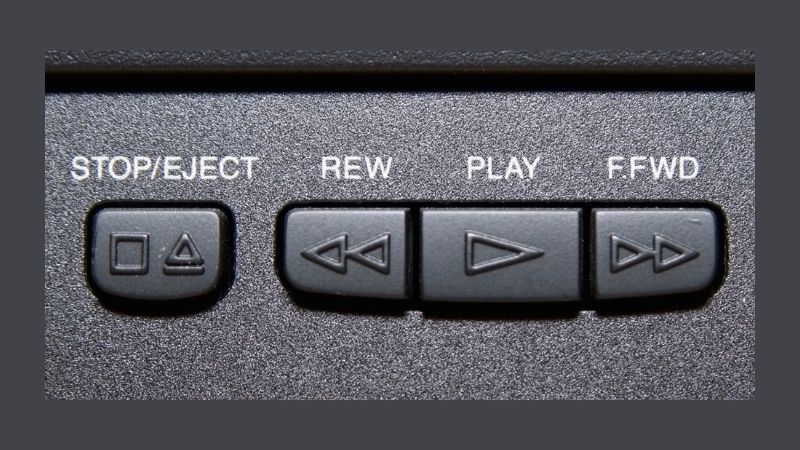
Press "Play" on the VCR section to start playing the S-VHS tape. After that, immediately press "Record" on the DVD section to start recording the content from the S-VHS tape onto the blank DVD. Some combo players might have a one-touch recording feature that simplifies this step.
Keep an eye on the playback from the S-VHS tape and the recording process to ensure everything works as expected. If you notice tracking issues or poor video quality, you might need to clean the VCR heads or adjust the tracking control on your player. I advise you to clean the VCR head and check the quality with the test tape.
Finalize the DVD
Once the recording is complete, it's crucial to finalize the DVD if you're using a DVD-R or DVD-RW. Finalizing makes the DVD playable on other DVD players and devices. Access the DVD section's setup menu again and look for an option to finalize the DVD. Follow the on-screen instructions to complete this step.

Abdo is a Zoopy writer who loves spending his free time outdoors, camping, and enjoying the peace that nature brings. He also enjoys fixing things - he's particularly good with electronics. His favorite movie is I Am Legend, and he's fascinated by survival gear and safety.