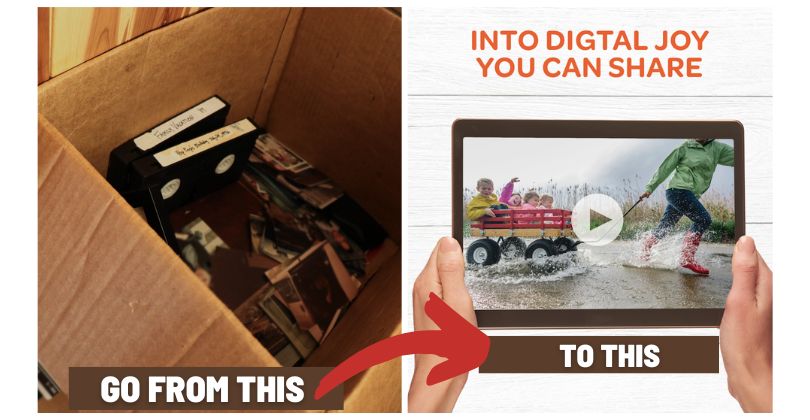
Many people who made home movies in the 80s will remember Hi8 tapes as a popular choice. They were designed for lightweight camcorders that most consumers could buy and use at home. However, they quickly fell out of popularity. But some people still have stacks filled up with these old cartridges, which are taking over much-needed space for other things.
Videotapes are not so durable and will degrade over time. For example, the Hi8 format can lose up to 20% of its stored data after just ten years, so if you decide to convert Hi8, it would be wise to do it before it is too late.
Our overall choice for good and risk-free transfer of Hi8 tapes to digital is the iMemories professional service because:
- High-quality transfers
- Accepts most media types
- Plenty of digital copies to choose from
- Includes free enhancement and certain repair of media
- Free download of digitized memories
- Fast turnaround time of 2 to 3 weeks
- Great customer ratings

Transfer Hi8 Tape Footage to DVD via Camcorder
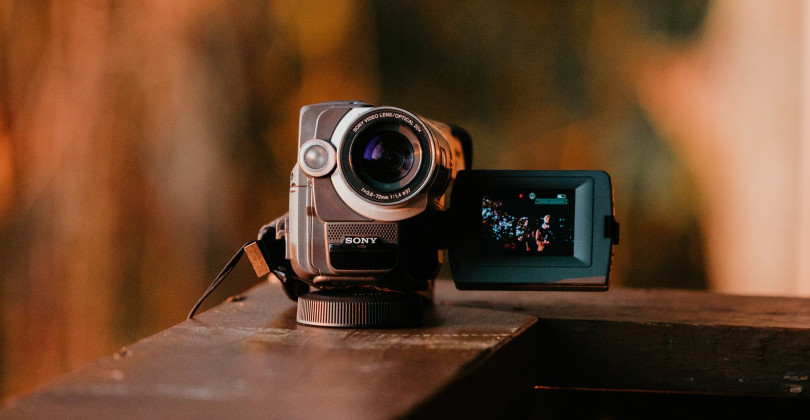
Transferring your old camcorder tapes to a digital format is an easy way of preserving them for the long term. In addition, you'll be able to edit and reuse footage of much higher quality than before, so it's worth doing.
Before starting, check a couple of things first:
- Be sure that the tapes are not in the decomposition phase
- Check if the tape player or camcorder is in working condition before you place tape in it.
For this transfer option to work, you need to have a working:
- Hi8 Camcorder
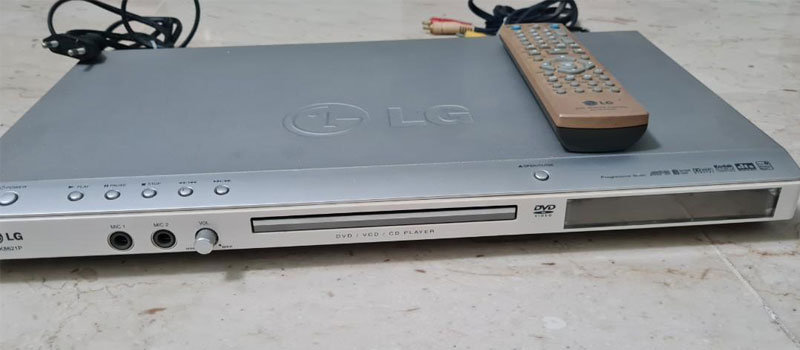
- DVD Recorder
Here are the steps on how to do it:
- Make sure you plug in your Camcorder properly. It should be connected directly to the DVD recorder and not to a TV.
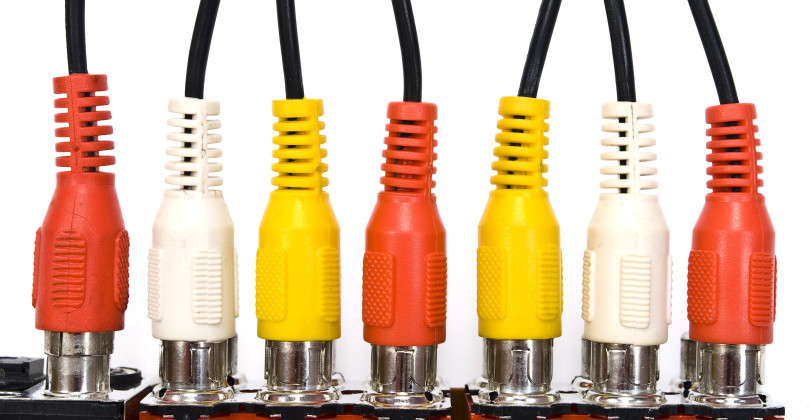
- Connect the audio/video cables from your Camcorder and plug into AV inputs on either the front or back of a DVD recorder.
- On the DVD record, switch input from the tuner to AV-in, Aux, or Line-in (depending on the brand) to get the signal from the camcorder and record to the DVD. AV inputs/cables are often colored yellow for video and red/white for audio.
- Insert tape you want to be copied into the Camcorder, then put a blank DVD in the DVD recorder.
- To start copying tape to DVD, press record on the DVD recorder and then play on the Camcorder. This step allows you to copy the inserted tape. The reason for pressing the record button first on the DVD recorder is that it may take a few seconds to start recording.
- Once you have finished recording, stop the DVD recorder and then Camcorder.
- After confirming you can play back the copy, make sure to change back source on the TV to the regular channels you watch.
TIP: The video input on your TV can be accessed by changing the channel selection up and down until you reach AV, line, or video in. Look up the user guide for additional details about your camcorder and DVD recorder. You can easily find it online if you don't have it.
Transfer Hi8 Tapes to Digital Via Video Capture Card
There are two types of video capturing devices:
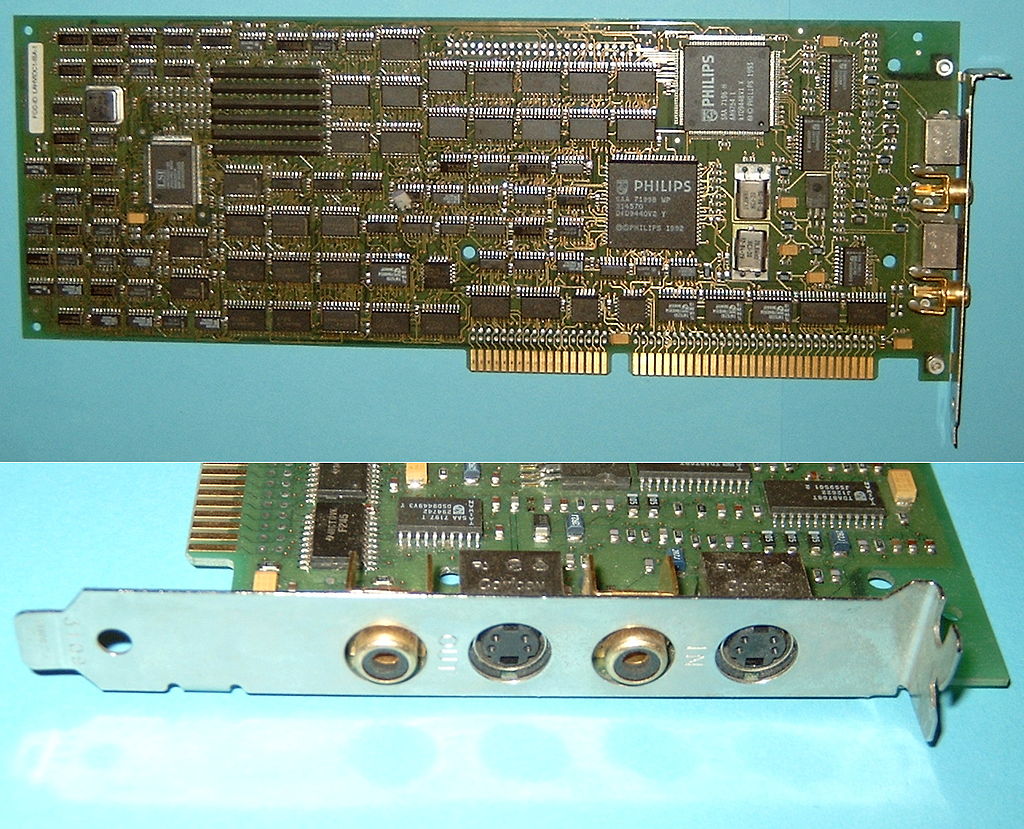
- Video capture card (plugs into PC motherboard)
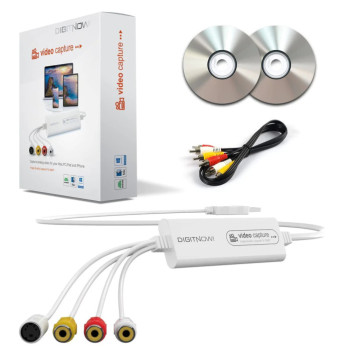
- External USB video capture card
Before starting this option, you need a computer and a video capture card. First, a video capture card must be attached to the computer motherboard, which will convert analog video from the Hi8 tape to digital and store it on the computer's hard drive.
Using an external video capture card is easier as it works just by plugging it into any computer with a USB port.
To use a USB capture card, you need to:
- Plug the RCA cable from the capture card to the camcorder RCA output port.
- Plug the capture card into the computer USB port and install the necessary driver if it has one.
- Turn on the Playback, VCR, or VTR mode on the camcorder.
- Ensure that your tape is at the beginning of the footage before starting.
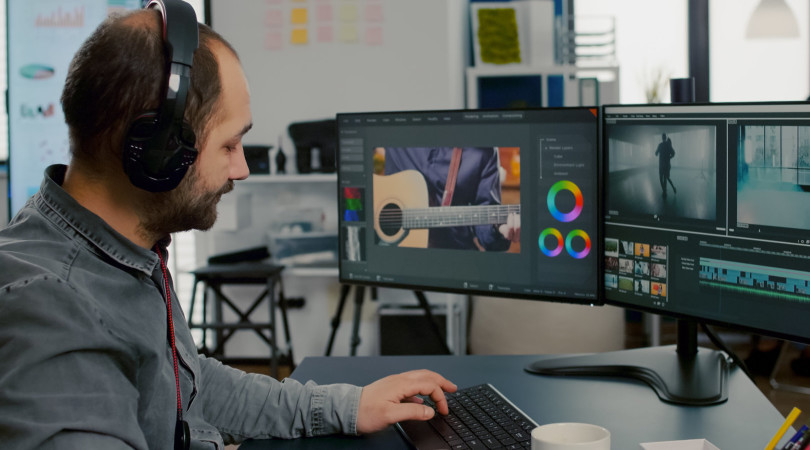
- Open the program you want to use for recording or editing videos.
NOTE: Some external video capture devices come with their software, like the above example. Depending on the device, you can remove sections of footage and add titles, chapters, background music, etc.
Sending Hi8 Tapes to a Professional Digitizing Service
We mentioned all possible DIY solutions you can use with the right equipment. However, if you are unsure about doing it alone or do not have the right equipment, mailing your tapes to a professional digitizing company is the best choice.
Nowadays, plenty of companies offer services for reasonable prices and include additional services besides converting and making your media look even better.
We will briefly explain the key steps of using a professional service so that you can more easily understand their whole process. Each service has its own process; some steps may be excluded or different.
Process of Ordering

When it comes to ordering, it is straightforward and consists of several steps that are explained in detail. For any additional questions, contact their customer support via phone or email. From our experience, if you contact them by email, you can expect an answer in a couple of hours, depending on the company.
Media Type
This step depends on your chosen service and the media you want to digitize. Hi8 tapes, in this case, won't be a problem because almost all services accept them. But if you're planning on sending other media types, check if the service accepts it.
Digitizing services accept the following media:
- Videotapes
- Old films
- Photos
- Slides
- Negative
- Audio tapes and reels (depends on service)

Mailing Your Media
People are usually skeptical about sending their old media by mail. Will my memories be destroyed or lost? These are the questions that people ask themselves when sending media by mail.
Here are the options when sending media to a service:
- Delivering to company facility by yourself
- Shipping by your carrier of choice and in your own box
- Shipping in a crush-proof box provided by your chosen service (depends on the service)
- Scheduled home pickup
For example, iMemories offers its own crush-proof box named SafeShip Kit, which contains protective bags for safe packaging of media, shock-resistant cushions, and a FedEx pre-paid shipping label.
NOTE: If you choose to ship media in your own box, we recommend choosing a carrier with a good tracking system. Also, you take full responsibility for the safety of packaging and shipping, so good luck.
Notifications
You will be notified when your media arrives at the facility and when the technicians complete the digitizing process. If the service has any questions, they will contact you. Some services go even further, such as iMemories, which informs you in real-time via regular emails and the Order Status page about each step media goes through during the digitizing process.
Digitizing Process
After the media arrives at the service, it's inspected, marked for easier tracking, and sent to the digitization process. Media is handled and digitized by skilled staff and high-quality equipment.
During the digitizing process, media may get:
- Repairs
- Enhancement
- Restoration
- Colors adjustment
NOTE: The availability of certain features depends on the company and may vary by media type.
Digital Copy
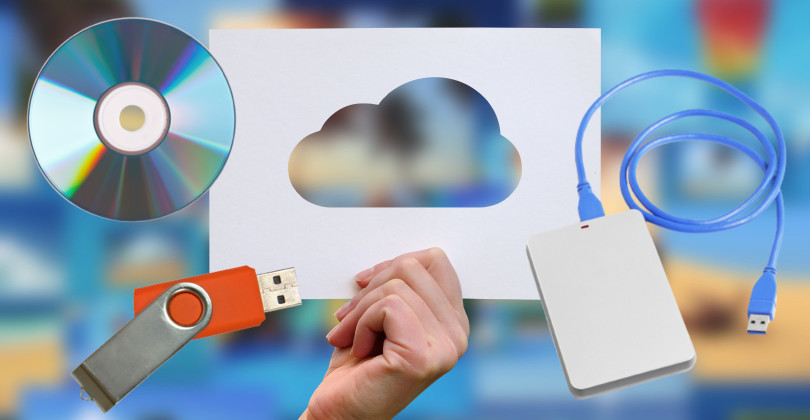
Depending on the specific company's offer and selection, you can get the media in the form of:
- Digital download
- Cloud
- DVD
- Blu-ray
- USB
- External hard drive
We recommend going with a digital download or USB. However, an external hard drive would be the best choice if you have a large amount of media.
Turnaround Time

The process may take between 1 to 12 weeks. It may sound a lot, but it depends on the service of choice and the amount and type of media you send.
With some services, it might take longer because they receive old media via their retail partners such as CVS, Walmart, etc. Stores like CVS and Walmart may offer digitizing services, but it's not actually them converting the media to digital. They instead ship it to a professional digitizing service that does it for them.
Price
You can come across different price ranges and how the price is estimated. For example, prices can range from $14.99 up to $30 per tape, plus the charge for a digital copy of your choice.
Some services may charge you per tape footage length, which may cost you even more. iMemories offers a reasonable transfer price of $14.99 per tape, plus you can download digitized footage for free.

Abdo is a Zoopy writer who loves spending his free time outdoors, camping, and enjoying the peace that nature brings. He also enjoys fixing things - he's particularly good with electronics. His favorite movie is I Am Legend, and he's fascinated by survival gear and safety.