- Summary
- Available Methods
- Professional Service
- Comparison Table
- DIY Conversion Methods
- Converting VHS-C with Camcorder
- Converting VHS-C With VHS Adapter
- Converting VHS-C With Dedicated VHS-C Player
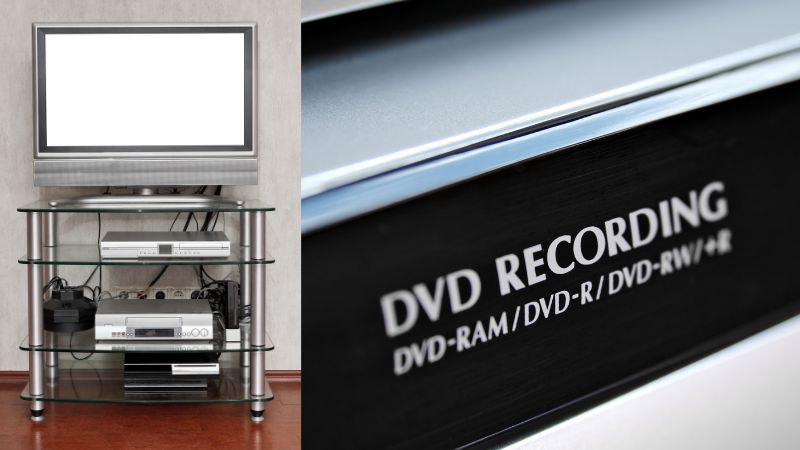
- VHS-C Player with Standalone DVD Recorder
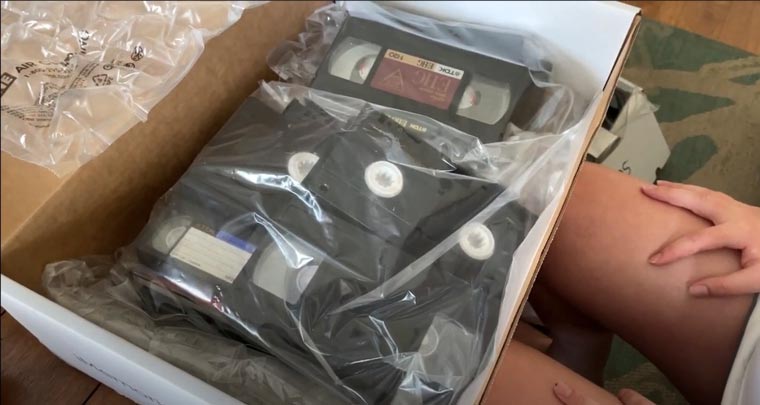
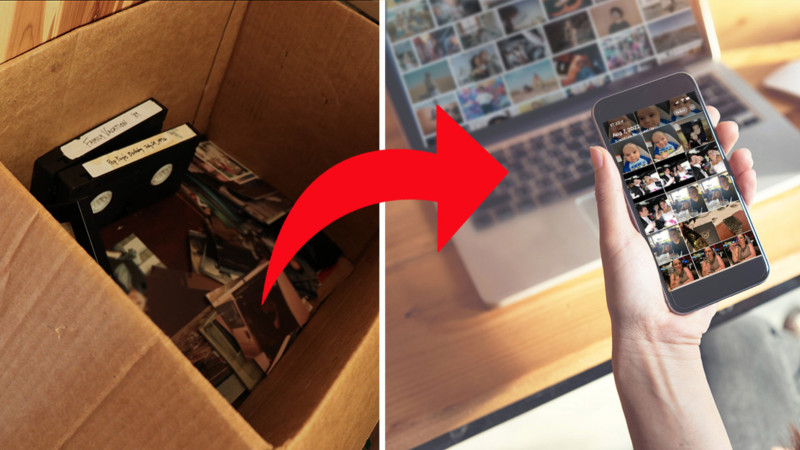
Got a pile of vintage VHS-C tapes lying around? If you’ve realized the importance of converting them into a digital format, and you’re on the hunt for ways to make it happen, you’ve landed in the right spot. We’re about to explore all the avenues available for turning those analog memories into digital treasures, so you can easily enjoy and share them with your circle of friends and family. Stick with us as we unfold the methods that align perfectly with your resources and know-how.
Summary
The article delves into methods for converting vintage VHS-C tapes into a digital format. For those seeking a hassle-free route, professional VHS-C to digital services are the top recommendation. They handle everything from the initial order to the actual conversion, with steps that include secure packing, shipping, and even potential enhancements to the footage. For DIY enthusiasts, several options exist: 1) Using a camcorder with a digital output which connects directly to a computer, 2) A VHS-C to VHS adapter combined with a VCR and video capture card/converter, 3)
iMemories Digitizing Service

A dedicated VHS-C player with a capture card/converter, and 4) A VHS-C player paired with a standalone DVD recorder. Each method varies in complexity and resource requirements. The process usually involves cleaning the tapes, ensuring equipment readiness, and taking measures to enhance and back up the final digital footage.
Methods Availble
Available Methods for Converting VHS-C to DigitalBefore we dive in, let’s lay out your available avenues, progressing from the simplest to the more technical, requiring specific gear.
- Professional Conversion Service: If you’re aiming for seamless results and a hassle-free process, this is your top choice. Opting for professional help ensures top-notch outcomes.
- Camcorder with Digital Output: If you’re up for a DIY approach and have a camcorder with digital output, you’re in luck. This straightforward method is within your grasp.
- VHS-C to VHS Adapter + VCR + Video Capture Card/Converter: This method strikes a balance between ease and affordability, especially if you already own a VCR—a suitable choice if simplicity is your preference.
- Dedicated VHS-C Player + Capture Card/Converter: Here’s another route for your consideration. It involves a dedicated VHS-C player paired with a capture card/converter. This method offers a solid middle ground.
- VHS-C Player with Standalone DVD Recorder: If you’re willing to work with multiple devices to get the conversion done, this method might pique your interest. It’s a comprehensive approach to the task at hand.
Each option has its distinct perks and considerations. We’re here to help you navigate through these choices and find the one that aligns perfectly with your needs and expertise. Let’s explore these pathways together!
What is the best and simplest way to convert VHS-C tapes to digital files?
Professional VHS-C to Digital Service
Searching for the ultimate and easiest route to transform your VHS-C tapes into digital marvels? Look no further, as this is your golden ticket. These professionals are wizards in their craft, ensuring your VHS-C treasures are treated with utmost care. With the surge in demand, they’ve expanded their expertise online, offering a seamless ordering process that spans across the continental USA.
Comparison Table of VHS-C to Digital Services
Service | Editors Choice iMemories  | Legacybox  | Southtree  | Costco Digitizing  | ScanMyPhotos  | DigMyPics MemoryBox  |
Website Link | ||||||
Shipping kit (box) | Yes | Yes | Yes | No | Yes | Yes |
Free repairs (splicing) | Yes | Yes | Yes | Yes | No | Yes |
Average turnaround time | 2-3 weeks | 10-12 weeks | 10-12 weeks | 3-4 weeks | 4-8 weeks | 2-4 weeks |
Expedited turnaround time | n/a | 3-4 weeks | n/a | n/a | 2-4 weeks | n/a |
ONLINE REVIEWS | ||||||
4.5 | 4.0 | n/a | n/a | n/a | n/a | |
4.7 | 3.5 | 3.6 | n/a | 2.3 | 5.0 | |
4.0 | n/a | 2.6 | 2.0 | 3.5 | n/a | |
4.4 | n/a | n/a | n/a | n/a | 4.1 | |
WHAT FORMATS THEY CONVERT | ||||||
Video tapes | VHS-C, VHS, Betamax, 8mm, Hi8, Digital 8, MiniDV, MicroMini, DVDs, MiniDVDs | VHS, VHS-C, Mini-DV, Hi8, Digital 8, MicroMV, Betamax, 8mm Video Cassette | VHS, VHS-C, MiniDV, Hi8, Digital 8, MicroMV, Beta, PAL to NTSC | VHS, S-VHS, Betamax, VHS-C, S-VHS-C, Video8, Hi8, Digital 8, DV, DVCAM, MiniDV, DVC | VHS, mini VHS, VHS-C, Hi8 NTSC format tapes | VHS, VHS-C, Hi8, Video 8, Digital 8, MiniDV, Betamax |
Film | 8mm, 16mm, Super 8 | 16mm, 8mm, Super 8, Regular 8 | 16mm, 8mm, Super 8 | 8mm, Super 8mm, 16mm | 8mm, 16mm, Super8 | 8mm, Super 8, 16mm |
Photos | Photos up to 12x16 Negatives (any size), Slides (any size) | Prints, 35mm Negatives, 35mm/126 slides | Prints, Slides, Negatives | Prints from 2" x 2" to 8" x 12" | Photos, slides, negatives | Prints, negatives, slides |
Audio | N/A | Reel to Reel, Audio Cassette, Micro-Cassette | Cassette, Reel to Reel | N/A | N/A | Cassette tape, reel to reel tape |
PRICING | ||||||
Video Conversion Price | $14.99 per tape | $59.99 for 2 tapes $279.99 for 10 tapes $559.99 for 20 tapes $1099.99 for 40 tapes | $15 per tape | Starting at $19.99 | $19.95 per tape | $65 - $600 (depends on the package size) |
Film Conversion Price | $14.99 per 50ft. | $59.99 for 2 films $279.99 for 10 films $559.99 for 20 films $1099.99 for 40 films | $25 per film | Starting at $19.99 | Starting at 19¢ per foot for 8mm, and 25¢ for 16mm | $65 - $600 (depends on the package size) |
Photo Conversion Price | $0.49 per photo | $59.99 for 2 sets of 25 pictures $279.99 for 10 sets of 25 pictures $559.99 for 20 sets of 25 pictures $1099.99 for 40 sets of 25 pictures | $0.25 per photo | Starting at $19.99 | Starting at 13¢ per scan ($25 minimum) | $65 - $600 (depends on the package size) |
Audio Conversion Price | N/A | $59.99 for 2 audio items $279.99 for 10 audio items $559.99 for 20 audio items $1099.99 for 40 audio items | $15 per audio | N/A | N/A | $65 - $600 (depends on the package size) |
Curious about how these services work? Let’s break it down into a few simple steps:
Placing Your Order
Begin by hopping onto the official website of your chosen service. Some services present you with a choice: mail your VHS-C tapes in your packaging or utilize their shipping kit. These kits are a genius solution, packed with safeguards like waterproof bags, shock-resistant cushions, and prepaid shipping labels. Not every shipping box is this protective, so choose wisely. Pick your desired media type - in this case, good ol’ videotapes.
Gathering Your Media
Before making an order, make sure you’ve assembled all the videotapes you’re keen to convert. Depending on the service, you might need to get your media ducks in a row before hitting that order button.
Secure Packing
Should you choose to use your own box for mailing, ensure it’s robust. Use dedicated protective cushions or even some old newspapers to prevent any tape turmoil during transit. Opting for the service’s shipping kit? Expect it to grace your doorstep within days. Follow the provided guide for loading up the box, then slap on the prepaid shipping label.
Shipping the Media
With the previous steps wrapped up, send your package on its way through your preferred postal carrier. If the shipping kit’s your pick, your carrier will take care of it via the prepaid shipping label.
Safety and Close Inspection
Rest easy - once your media reaches the service’s lair, they’ll notify you. From this point on, your VHS-C tapes are in the capable hands of the experts.
The pros will give your media a thorough hand inspection upon receipt. They’re on the lookout for repairs or any potential damage. This step could also determine the final price and more.
The Magic of Conversion
Post-inspection, your media enters the digitizing realm. Here, they’re gracefully transformed into digital wonders. Some services might even enhance and repair your VHS-C footage, making it shine for modern devices. Do note that not every service offers these options, so it’s best to verify before diving in.
Digital Storage Transition
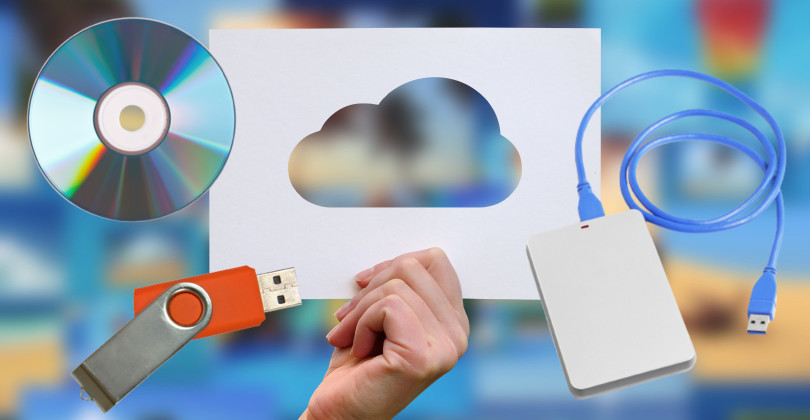
After the conversion and potential enhancements, your media is migrated to the digital storage option you selected during ordering. Be it flash drive, DVD, hard drive, cloud storage, or digital download - each service has its unique storage choices.
Duration of the Whole Process
The duration of the entire process hinges on the type and quantity of media, as well as the service itself. Expect timelines ranging from 2-3 weeks to as much as 10-12 weeks, depending on the specifics. Be vigilant about this, especially if there’s a deadline in play.
Rest assured, your VHS-C memories are in capable hands with these professionals. The transition to digital has never been smoother.
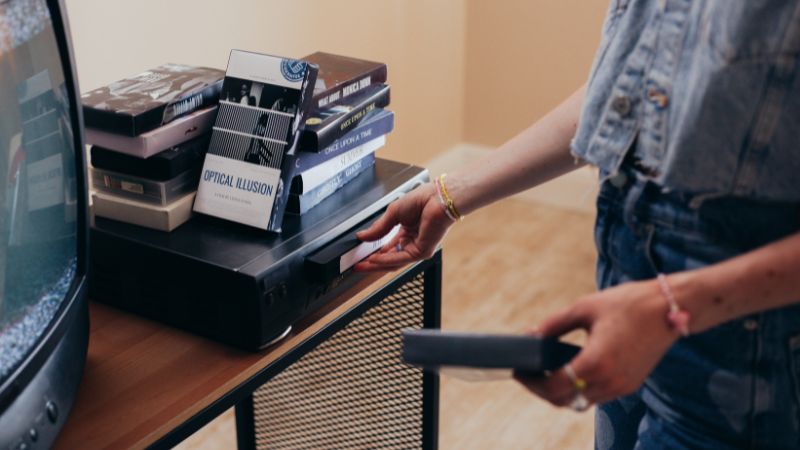
DIY Conversion Methods
Before we jump into the exciting world of conversion methods, let’s lay some groundwork.
- Cleaning Your Tapes: Before embarking on the VHS-C tape conversion journey (or any other tape), it’s wise to give those tapes a little care. Dust or mildew? No problem. A VHS cleaning kit should be your new best friend.
- Ensuring Equipment Readiness: Before you dive headfirst into the process, give your equipment a test run. Ensuring they’re in tip-top shape will save you headaches down the road.
- Boosting Your Footage Quality: Want your converted footage to shine? Don’t skip this step. Utilize video editing software to mend any imperfections and take your visuals up a notch. A little tweak can go a long way.
- Backup Like: Remember, safety first! Once you’ve got your transformed footage in hand, play it smart and keep a backup. Store it on a hard drive or in cloud storage. That way, you’re covered if anything unforeseen crops up.
Converting VHS-C with Camcorder With Digital Output
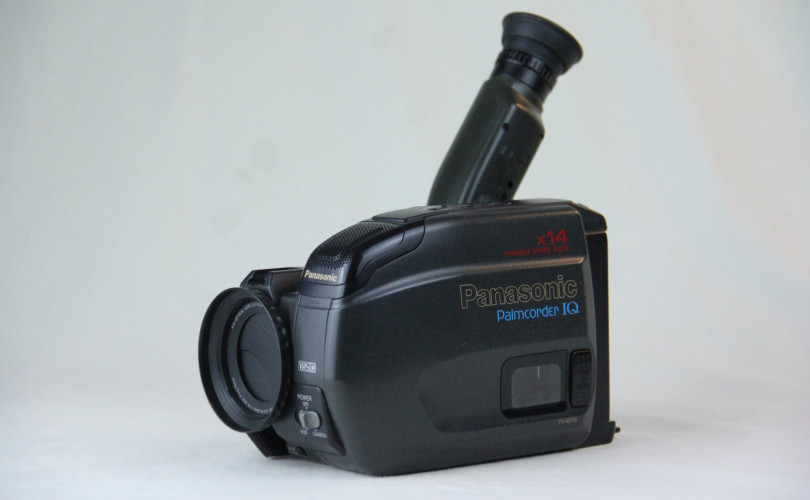
For this method, you need:
- Working camcorder
- Computer with suitable ports (like Firewire/IEEE 1394, USB, etc. depending on your camcorder’s output)
- Make sure your camcorder’s battery is fully charged or hooked up to its power adapter.
- Slide VHS-C tape into the camcorder, getting ready for action.
- First, power down both your camcorder and your computer to avoid any potential glitches.
- Link the camcorder’s digital output (like Firewire/IEEE 1394) to the appropriate port on your computer. Get the right cable for the job.
- Power up your camcorder before anything else. Then, switch on your computer. Order matters!
To capture footage, fire up the capture software:
- Open the video capture software you’ve chosen on your computer.
- Dig into the software settings and choose the input source that matches your camcorder (think IEEE 1394 or USB).
- Get that VHS-C tape in motion on your camcorder.
- As the tape starts playing, hit record in your video capture software.
- Stay on top of things, making sure audio and video are streaming in perfectly.
Once your tape has done its dance, stop the recording within your video capture software. Give that newly minted digital file a cozy home by saving it in your preferred format (think .MP4, .AVI, and the like) and on your chosen spot on the computer.
If you want to correct and enhance footage, import your freshly captured video into video editing software. Here’s where you can snip, tweak, pump up the audio, and bring out the best in your footage. Save your edited masterpiece or export it as your final video when all’s said and done.
Converting VHS-C With VHS Adapter, VCR and Video Capture Card/Converter
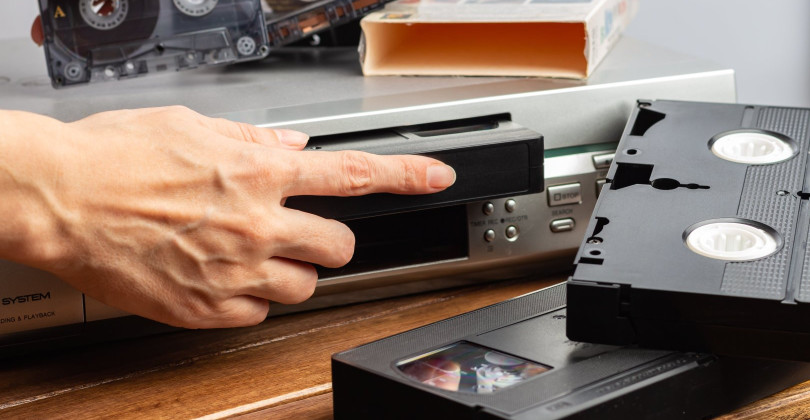
For this method, you need:
- VHS adapter
- VCR
- Video capture card/converter
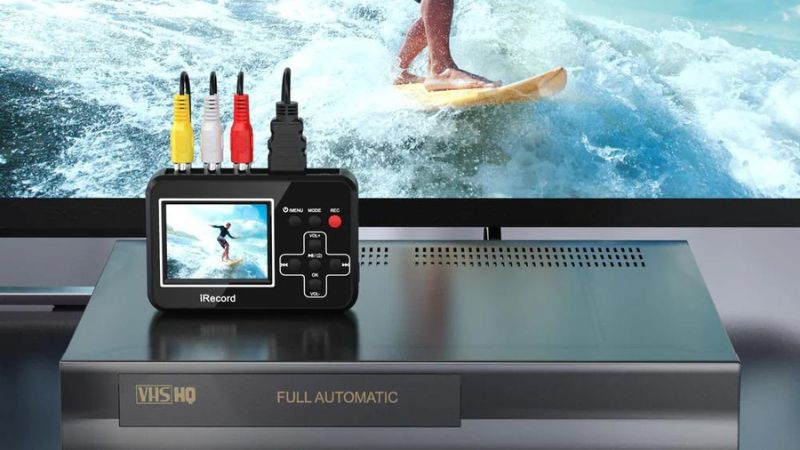
DigitNow HD Video Capture Box | DigitNow VHS to Digital Converter | DigitNow VHS to Digital Converter Box | DigitNow USB 2.0 Video Capture | |
Editors Choice  | 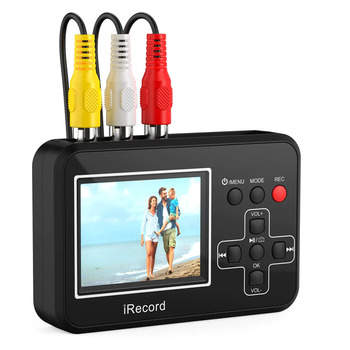 |  |  | |
Website Link | ||||
Price | $169.99 | $84.99 | $ 179.99 | $49.99 |
Description | The DigitNow HD Video Capture Box is a versatile converter that supports AV and HDMI HD 1080P video input and output. It features 3.5mm video input and output ports and comes with built-in speakers for audio and video preview. You can save your converted videos on a USB flash drive or SD card (up to 128GB) formatted as FAT32 or exFAT. This converter allows you to capture HD 1080P video from various sources, including VCRs, VHS tapes, Hi8, camcorders, DVDs, TV boxes etc. It also includes a convenient 5" OLED screen for easy video playback. | The DigitNow VHS to Digital Converter offers a user-friendly one-touch operation for converting your videos to digital files. With this converter, you can easily restore and share your family memories from the past. It allows you to share your digitized videos on your PC, smartphone, or TV. | The DigitNow VHS to Digital Converter provides HD 1080P video capture and recording from various sources, including VCRs. It features a 5" OLED screen for convenient video preview and playback. | The DigitNow USB 2.0 Video Capture is an all-in-one pro version designed for converting old VHS tapes into digital files. It supports video output formats such as MJPEG-19201080@30Hz and YUV422-720576@25Hz. The converter comes with powerful editing software for easy editing and burning of DVD formats. |
1. VHS-C Adapter Entry:
Pop open the VHS-C adapter and gently slide your VHS-C into the top slot. It should slip in with a smooth downward motion. Watch out for potential snags around the two spool arms if it’s not gliding effortlessly.
2. Set the VHS adapter with tape in Your VCR:
Your cassette is now snugly in the adapter. It’s time to seat the adapter into your VCR player.
3. Connect Your Gear:
Ensure your VCR is connected to your video capture card. Use the provided RCA cable to link the capture device to your VCR.
4. Let the Recording Begin:
Power up your video capture card/converter. Hit the “REC” button on the converter to kick off the recording. After recording, you can also watch your freshly minted digital content directly on your screen using the play button.
5. Get Your Digital Copy:
Use the supplied USB cable to transfer your newly digitized videos to your computer. Now, you can transfer them to your PC, phone, or even burn them onto a DVD.
6. Playback of footage:
To play back your footage via the video converter fire up your converter.
Select play mode using the mode button.
Use the forward buttons to choose the film you desire.
Hit “ok” to start playback. Enjoy those memories unfolding before your eyes.
7. Zoom In on the Details:
If you want to delve deeper into your snapshots, press the OK or VOL+ button to zoom in or out in several steps. Need to step back? The VOL- button’s got your back, zooming out while also revealing image file data.
8. Banishing the Date Stamp:
If the date stamp isn’t your thing, it’s easy to bid it farewell.
Briefly press the On/Off menu button before recording to access timestamp settings.
Choose “Off,” and voila! Your recorded videos will be date-free.
With these steps under your belt, you’re all set to embark on a journey of preserving and reviving your cherished VHS-C memories. Get ready to experience nostalgia in a whole new digital dimension!
Keep in mind that the options and settings can vary slightly based on the specific capture device you’re using. However, in essence, this process provides a solid guideline.
Converting VHS-C With Dedicated VHS-C Player and Capture Card/Converter
For this method, you’ll need:
- A dedicated or compatible VHS-C player
- A video capture card/converter
This approach closely resembles the first method involving a VHS adapter. However, instead of using the adapter, you’ll place the VHS-C tape directly into a dedicated or compatible VHS-C player. Here’s the drill:
1. Linking Up:
Get your capture device all set by connecting it to the video source at the back of the VHS-C player. Use the supplied RCA cable.
2. Power On:
Switch on your VHS-C player and give life to your trusty video capture card/converter.
3. Setting Up the Converter:
Tweak the converter’s settings to align with the video source you’ve got going from your VHS-C player.
4. Play and Record:
Start the tape on your VHS-C player.
When your tape’s in motion, hit that “REC” button on the converter to begin recording. After capturing tape footage, you can also preview your freshly recorded content directly on the screen of the video converter using the play button.
Use the included USB cable to transfer your digitized tape footage to your computer.
VHS-C Player with Standalone DVD Recorder
To conquer this method, gather the following gear:
- VHS-C to VHS adapter or a dedicated VHS-C player
- DVD recorder
1. Making Connections:
Link up the composite (yellow) video and RCA analog stereo (red/white) outputs from your VHS-C player to the corresponding inputs on the DVD recorder.
Different DVD recorders might feature one or more video/audio inputs, each labeled in various ways, like AV-In 1/2, Line-in 1/2, or Video 1/2 In.
2. Input Selection:
On your DVD recorder, choose the input that’s hooked up to your VHS-C player.
3. Ready the Stage:
Insert the tape you’re eager to duplicate into the VHS-C player.
4. Load Up the DVD:
Slot in a blank, recordable DVD into the DVD recorder.
5. Record and Play:
First, kickstart the DVD recording process. Now, press play on your VHS-C player to start the playback of the tape.
A nifty tip – kick off the DVD recorder first to ensure you capture every precious moment right from the start. This way, you won’t miss any of the action during those initial moments of tape playback.

Abdo is a Zoopy writer who loves spending his free time outdoors, camping, and enjoying the peace that nature brings. He also enjoys fixing things - he's particularly good with electronics. His favorite movie is I Am Legend, and he's fascinated by survival gear and safety.